Critical Items for Ski Mountaineering
Lightweight Ski Touring Setup
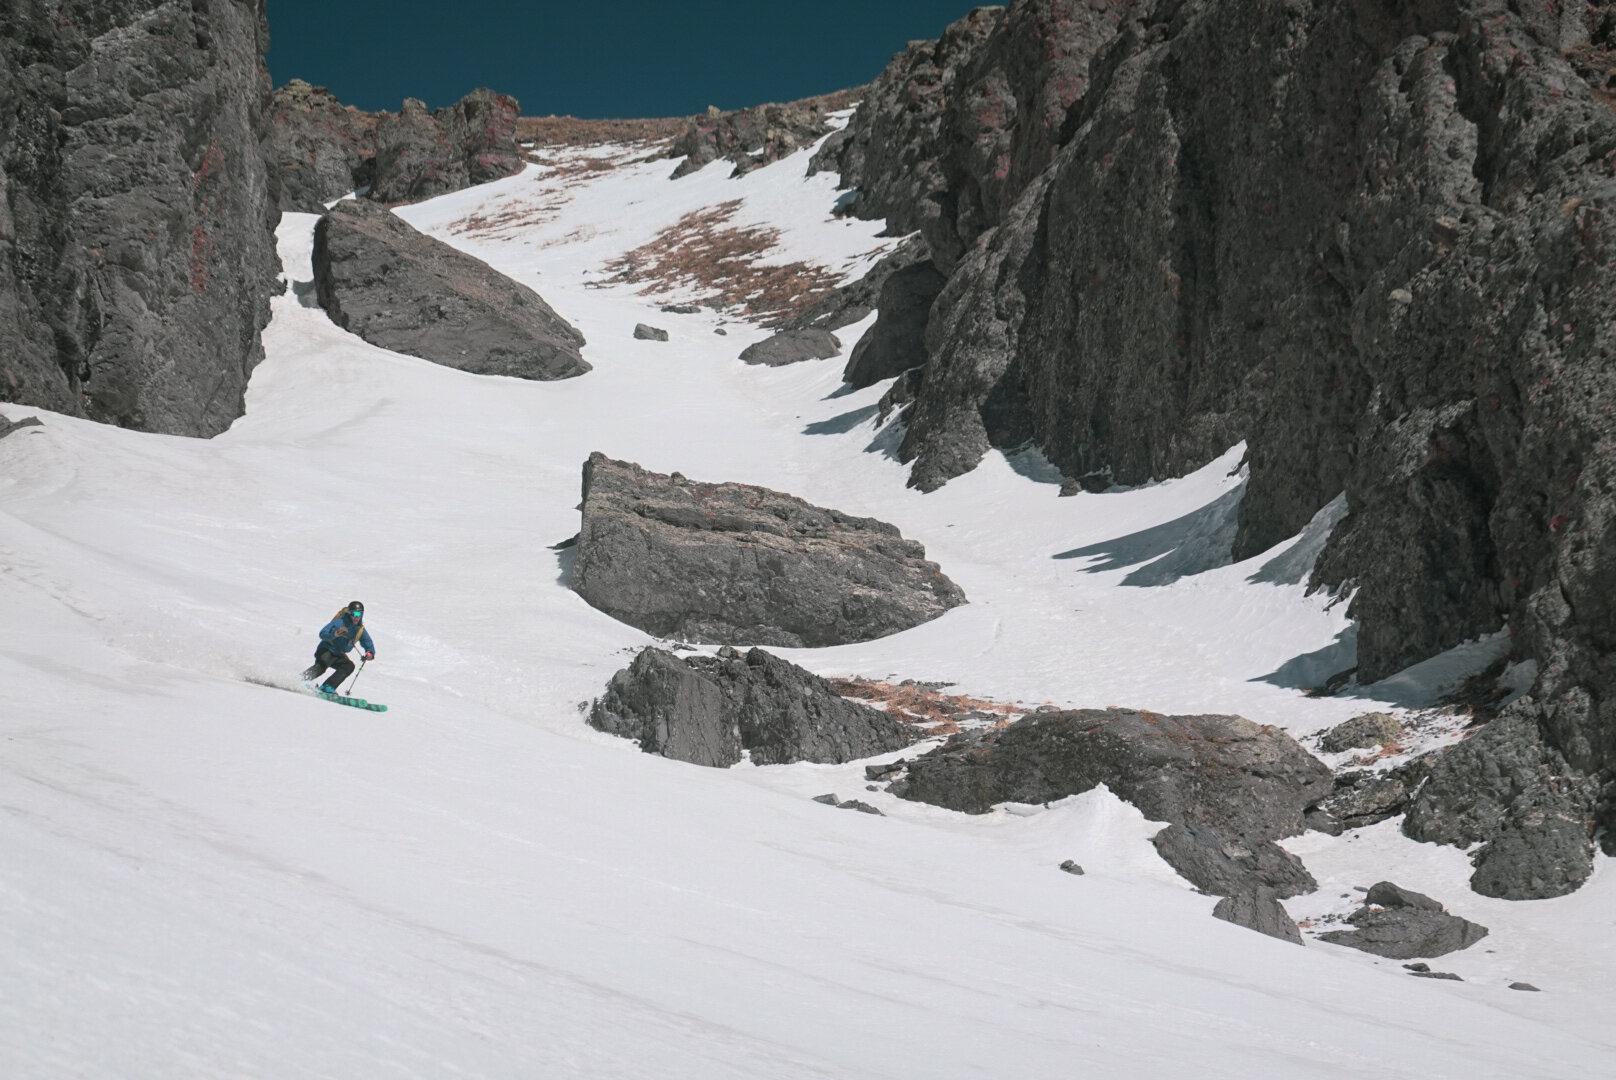
Typically, spring skiing and ski mountaineering means long approaches and several hours in ski boots. This means lightweight gear will make the difference when you’re on hour 6 of an 8 our day. Most people opt for a skinnier ski in the spring and ultra lightweight touring bindings. Thanks to innovation in the ski industry, many companies are building uber-light skis with the stability and capability to give you the confidence of conquering big mountain terrain. Lightweight chargers like the Blizzard Hannibal are a good option for cutting weight and getting optimal performance.

Ski Mountaineering: Photo by William Berger
Ski and Boot Crampons
When it comes to steeper terrain, crampons can be a game changer. Early starts are a must and the snow is usually still frozen, ski crampons give you the edge you need to make it up steep, icy terrain where your skins would slide backwards. Ski crampons clip onto the toe piece of your touring binding and make your day easier when the going gets rough.
Once the terrain gets too steep for your skis, boot crampons come into play. Boot crampons clip to the bottom of your boot and make the steepest terrain feel like a sidewalk. Crampons like the Petzl Leopard are a good option for cutting weight and optimizing performance.
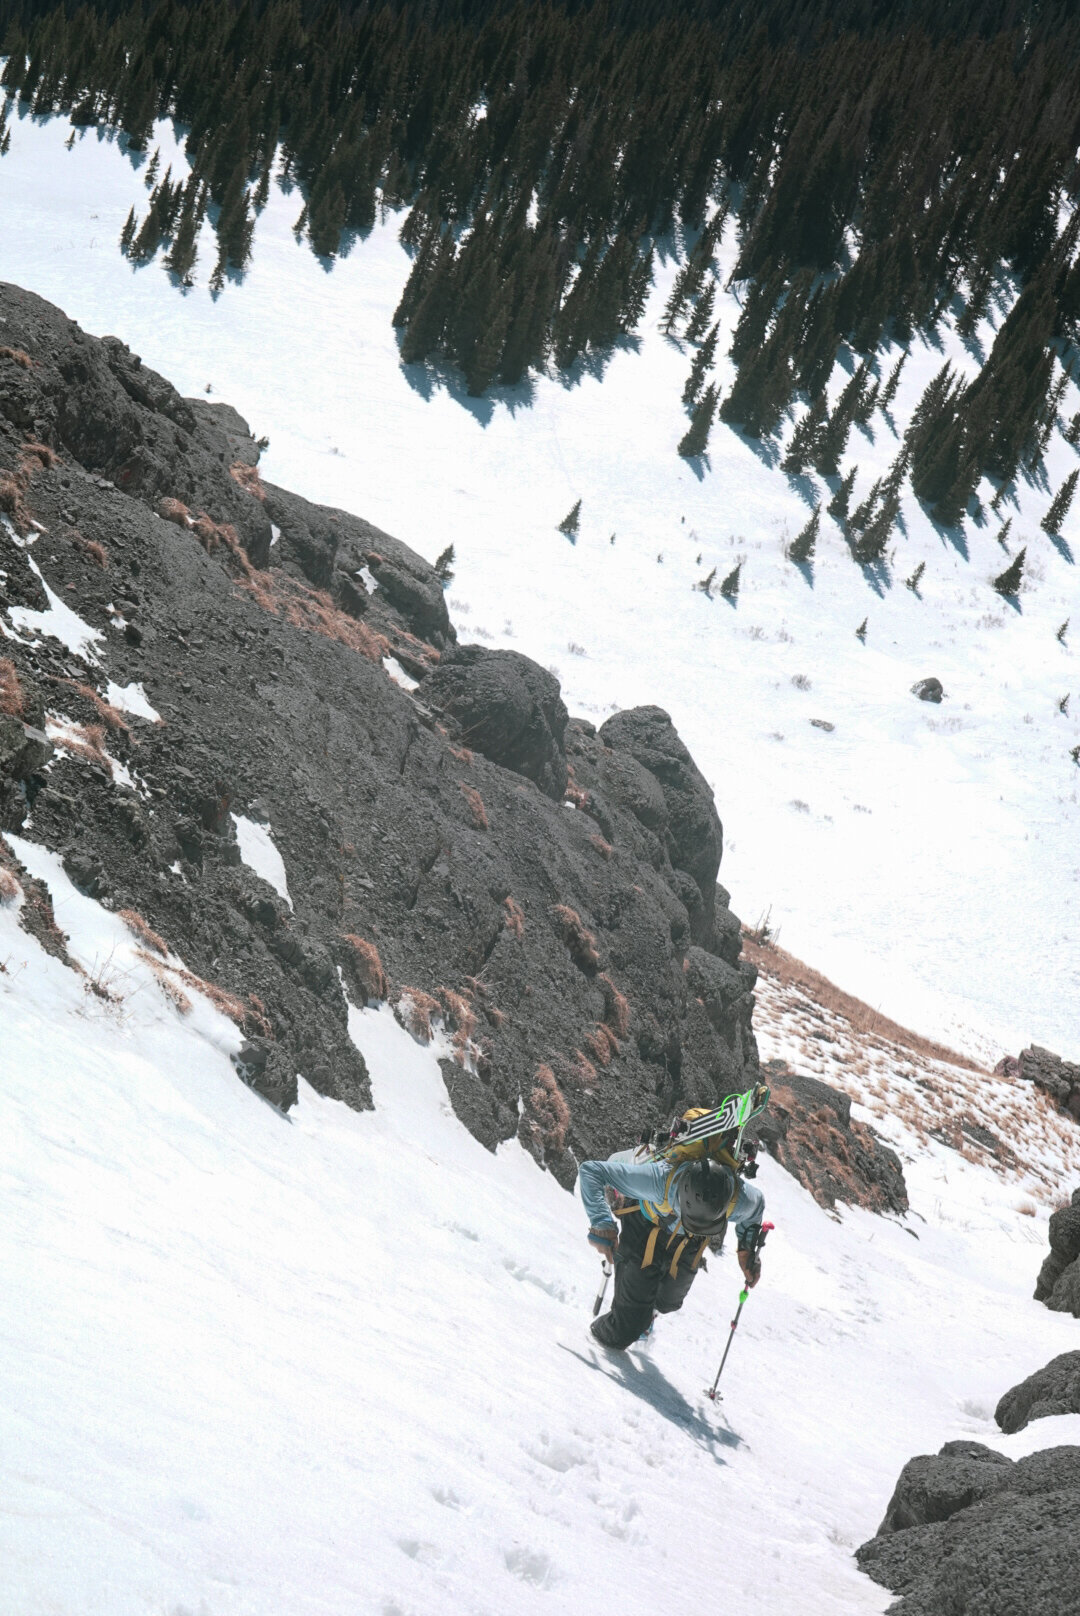
Boot Crampons: Photo by William Berger
Ice Axe
As an extra safety feature and to give you confidence on extra steep terrain, an ice axe is necessary. Black Diamond and Petzl make lightweight and well designed ice axes perfect for ski mountaineering. It’s important to get the right size axe to fit on your pack and to not become cumbersome on steep boot packs. Learning how to self arrest and ski safely with an axe is also a must.

Ice Axe: Photo Alex Ekey
Harness
Light. Light. Light. Blue Ice makes the perfect lightweight harness and should be on everybody’s list for ski mountaineering essentials. With adjustable leg loops, the ability to put on without lifting your feet off the ground, this harness is a must.

Climbing Engineer: Photo by Alex Ekey
Glacier Rope
A rope with dry treatment is key for ski mountaineering. The ability to work in ice and cold conditions makes glacier ropes easy to use for ski mountaineering. Ropes from Edelrid, Black Diamond and Blue Water are what we recommend. It might be a good idea to go with a smaller diameter rope than normal to help cut weight and make the uphill a little bit easier.

Climbing Engineer: Photo by William Berger
Lightweight Helmet
A climbing helmet is a ski mountaineering essential. You don’t want your winter ski helmet with extra padding and ear flaps heating your head on the way up a couloir. Climbing helmets offer perfect safety and are breathable and light to keep you happy all day long.
Skiing with a Climbing Helmet: Photo by William Berger
Education
The best way to learn is through taking a course from a reliable ski guide service. It is important to have the skills, knowledge and protocols before ski mountaineering. Once you find a course, remember to practice, practice, practice. Just like any technical activity, practice is one of the most important factors keeping safety in mind.
San Juan Expeditions: Ski Mountaineering Course
Always remember to check CAIC before heading out into the backcountry.